How We Build Your Garden Room
From first conversation to handing over the keys. Five stages, no surprises, one person overseeing the whole thing.
One of the most common things customers tell us after their build is that they did not expect it to be so straightforward. This page explains exactly what happens at each stage, what you will be asked to do, and what we take care of. No jargon, no vague timelines.
Design and Initial Consultation
At your pace, online or on the phone
The first step is developing a design that works for your garden, your intended use and your budget. This can start in a few different ways depending on how you prefer to work.
Many customers begin with our free online 3D design tool, which lets you explore sizes, layouts and finishes at your own pace and generates a guide price instantly. Others prefer to call Kieron directly, talk through what they have in mind, and have a 3D design and outline specification put together for them.
Either way, by the end of this stage you will have a clear 3D visual, a detailed specification and a guide price for the room you have in mind.
The guide price at this stage is based on an average build cost for that size and specification and includes allowances for foundations, electrical connection, plastering and internal finishes. In most cases the final price does not vary significantly from it. The only thing we cannot confirm until a site visit is anything specific to your garden.
If the design and guide price sit within your budget, the next step is a free site visit. There is no obligation at this stage and no pressure to proceed.
Ready to see what your garden room could look like?
Design in 3D free →Free Site Visit
45 minutes, no obligation
The site visit is where the design becomes specific to your garden. Kieron visits in person to assess the space, confirm the practical details and finalise the design with you before anything is committed to.
During the visit we will:
- Assess site access and installation logistics
- Review ground conditions and confirm the best foundation approach
- Photograph the existing fuse board and power supply
- Help you finalise positioning, orientation and any design details
- Show physical samples of cladding, windows and doors
- Photograph the garden to support accurate final drawings
Most site visits take around 45 minutes. By the end you will have everything needed to produce an accurate, fully itemised quote. You will also have had the chance to meet Kieron in person and ask any questions you have.
Quote, Order and Production
From accepted quote to factory production
Within a few days of the site visit you will receive a detailed, fully itemised quote by email. This sets out everything we are supplying and installing so you can see exactly what is included. A 3D visual of your room is included with the quote.
If you want any changes, revisions to the design or specification can be made quickly. When you are happy, you accept the quote using the link in the email. This automatically triggers your deposit invoice.
Once the deposit is received:
- We produce your Garden Room Drawing (FFWR), the detailed technical drawings used for manufacture and installation
- Drawings include precise dimensions, wall and roof construction details, and a complete list of materials
- You review and confirm the drawings before anything goes into production
- Long lead-time items including doors and windows are ordered
- Your bespoke steel floor frame, wall panels and roof sections enter manufacture in our factory
Nothing goes into production until you have reviewed and confirmed the drawings. This is the checkpoint that ensures what gets built matches exactly what was agreed.
From the point we receive your deposit, the typical lead time to installation is 4 to 5 weeks. During peak periods it can be a little longer and we will always give you an honest estimate at the time of ordering.
This lead time is not dead time. During those 4 to 5 weeks, your room is being manufactured in our factory in Yorkshire. The steel floor frame is fabricated to your exact dimensions. Wall and roof sections are built. Doors and windows are ordered and delivered to the factory. All materials are received, checked off and loaded together so that when your delivery arrives, everything needed for your build comes in one go.
A single consolidated delivery means no raw materials arriving piecemeal over several days, no multiple lorries turning up unannounced, and no disruption to your neighbours. On larger builds or where access is limited, we may split delivery across two days so we only bring what we need for each phase. Either way, the approach is the same: everything is organised before a single person sets foot on your site.
The result is that when we arrive on site, the installation is faster, cleaner and less disruptive than it would be if materials were being delivered as the build progressed. Everything is ready. The team can get straight to work.
Delivery and Installation
Typically 2 to 3 weeks on site
Most bespoke garden rooms take between 2 and 3 weeks from start to finish on site. Smaller rooms can be completed in less. Larger or more complex builds may take a little longer. What usually surprises customers is how quickly the building itself goes up. The structure is typically fully formed and weather-tight within the first week, with the remaining time spent on the finishes that make it feel like a proper room.
Below is a typical installation sequence.
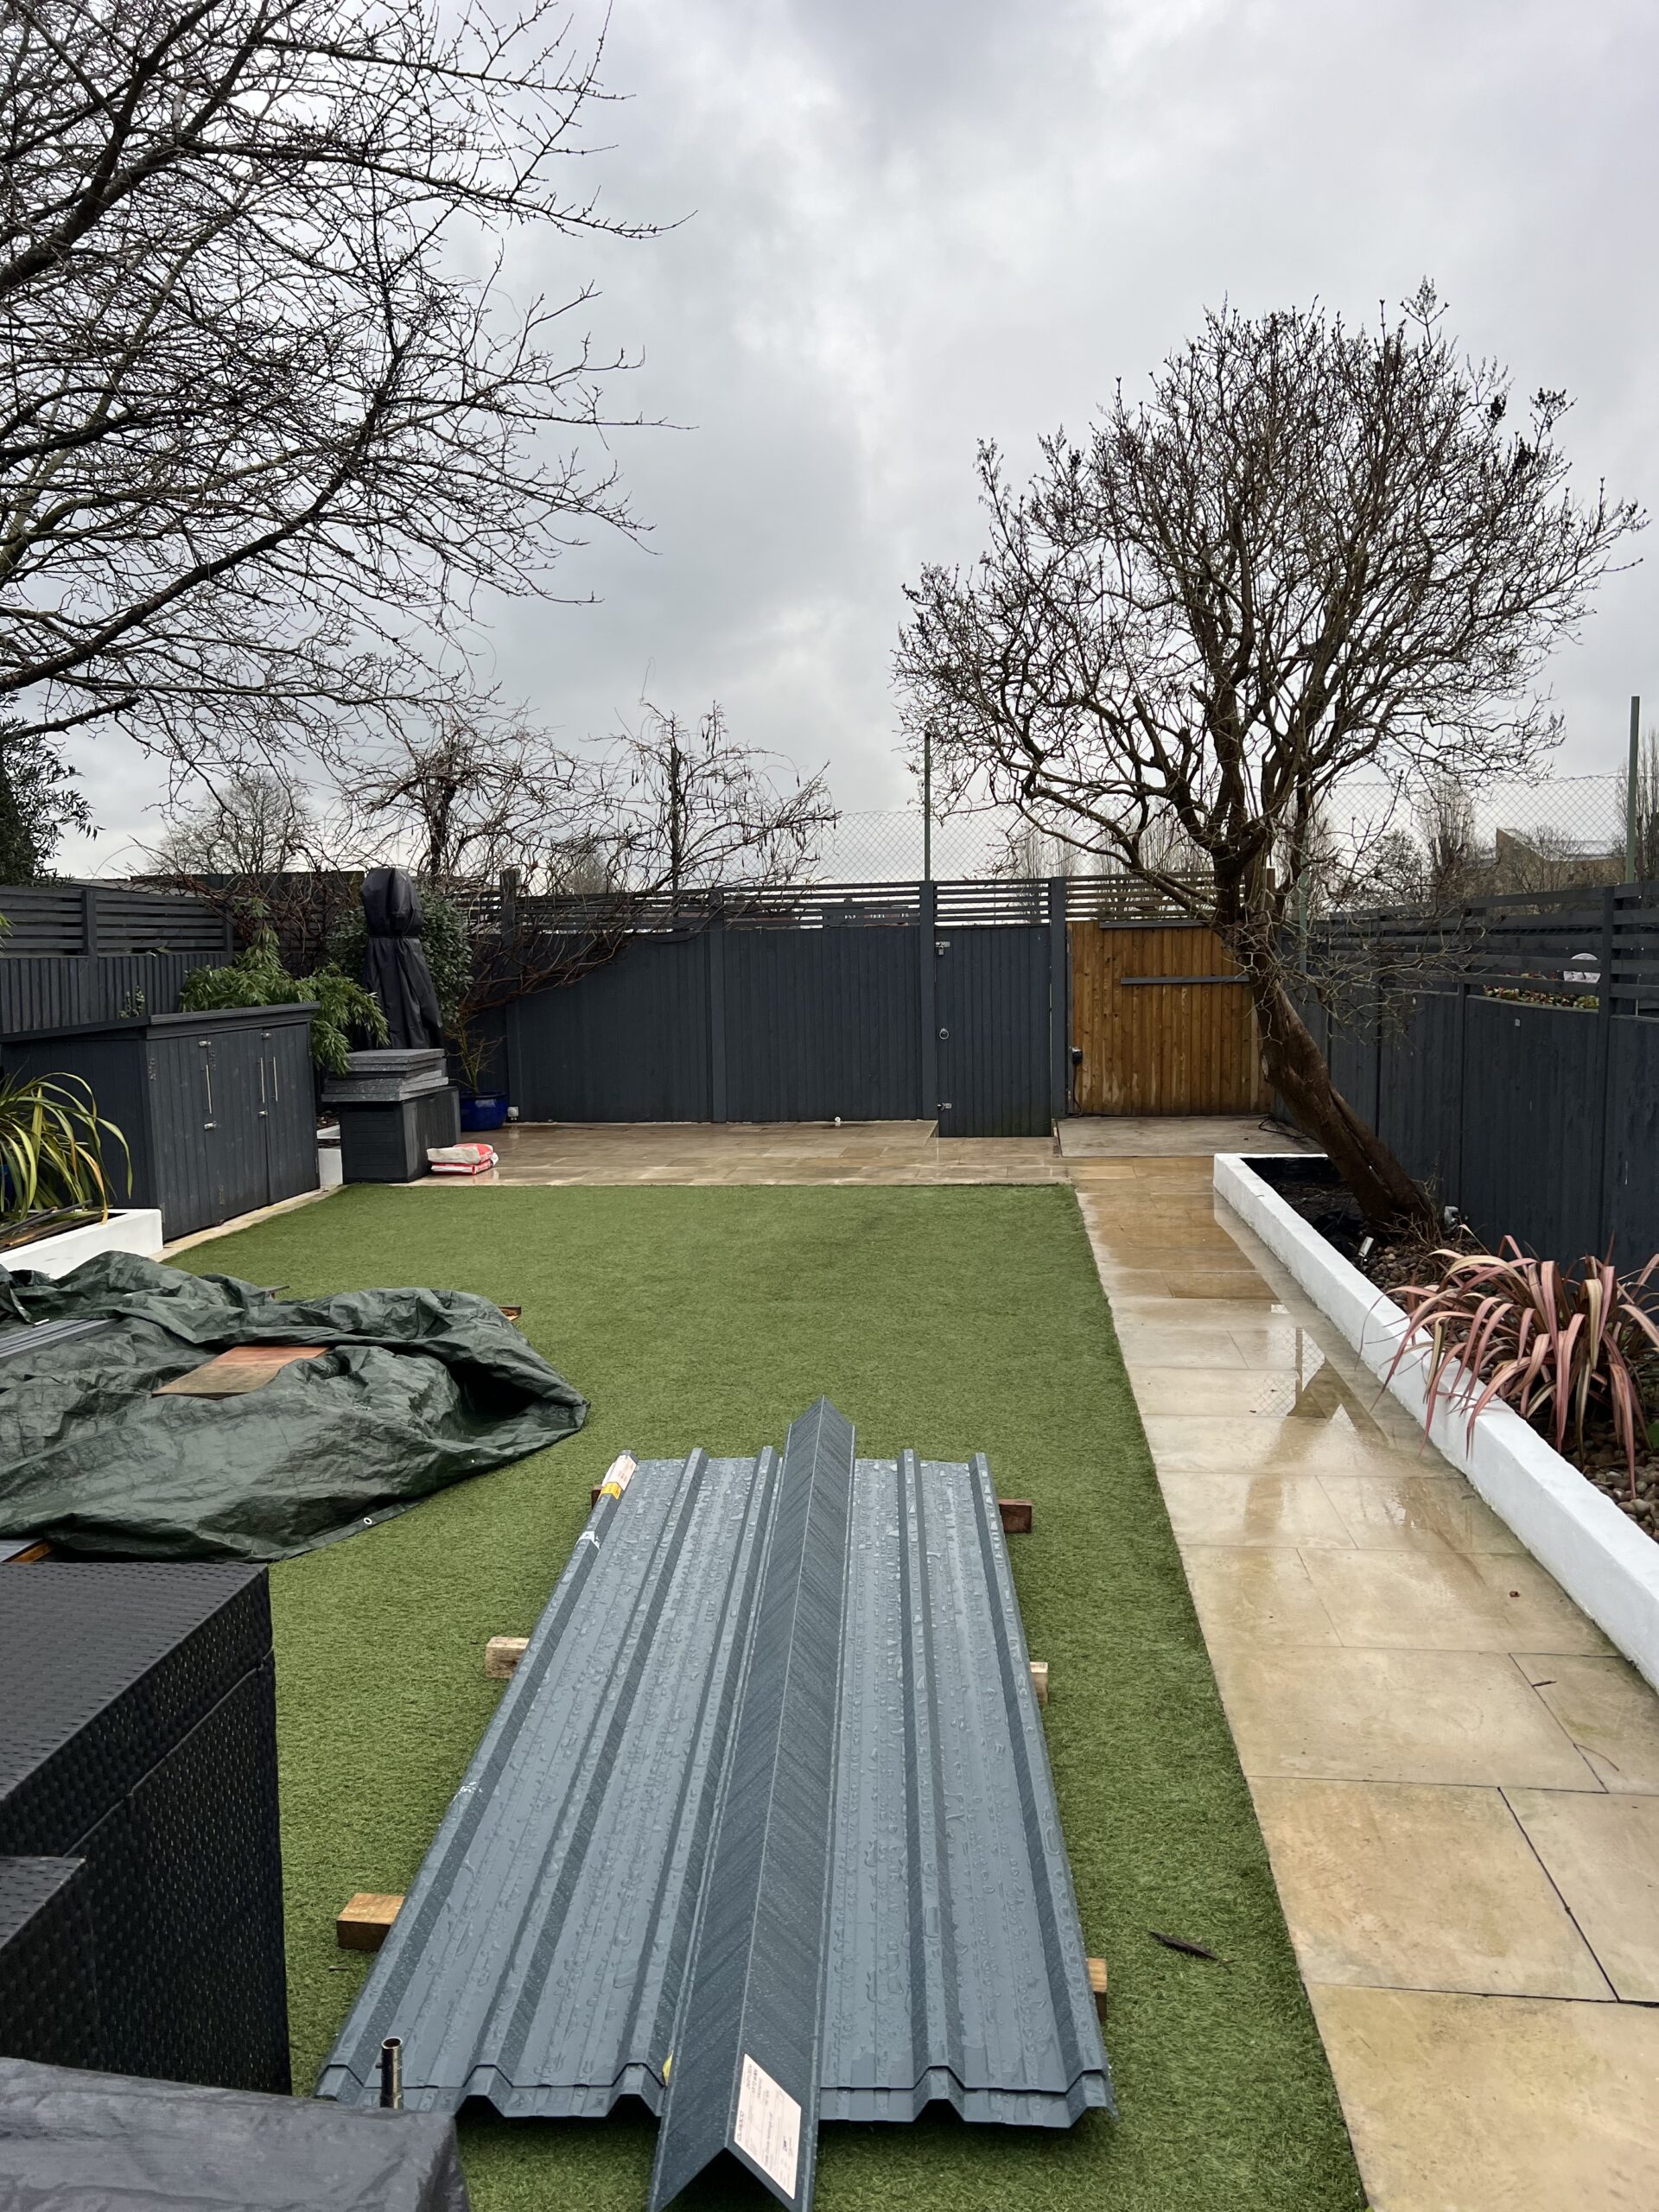
Foundations and Delivery
Foundations are installed first. Our standard system uses concrete-filled pile tubes driven approximately 50 to 60cm into the ground. Ground screws are used on some sites where conditions suit them, and a full concrete slab can be arranged where required. Garden room components are also delivered and unloaded on day one, ready for construction to begin.
Steel Frame Floor
The steel frame floor system is installed, followed by moisture-resistant chipboard decking and the sole plate. This creates a strong, level base from which the rest of the build is accurate. The steel frame is one of the key differences between a My Retreat garden room and most competitors' products. It will not rot, warp or move.
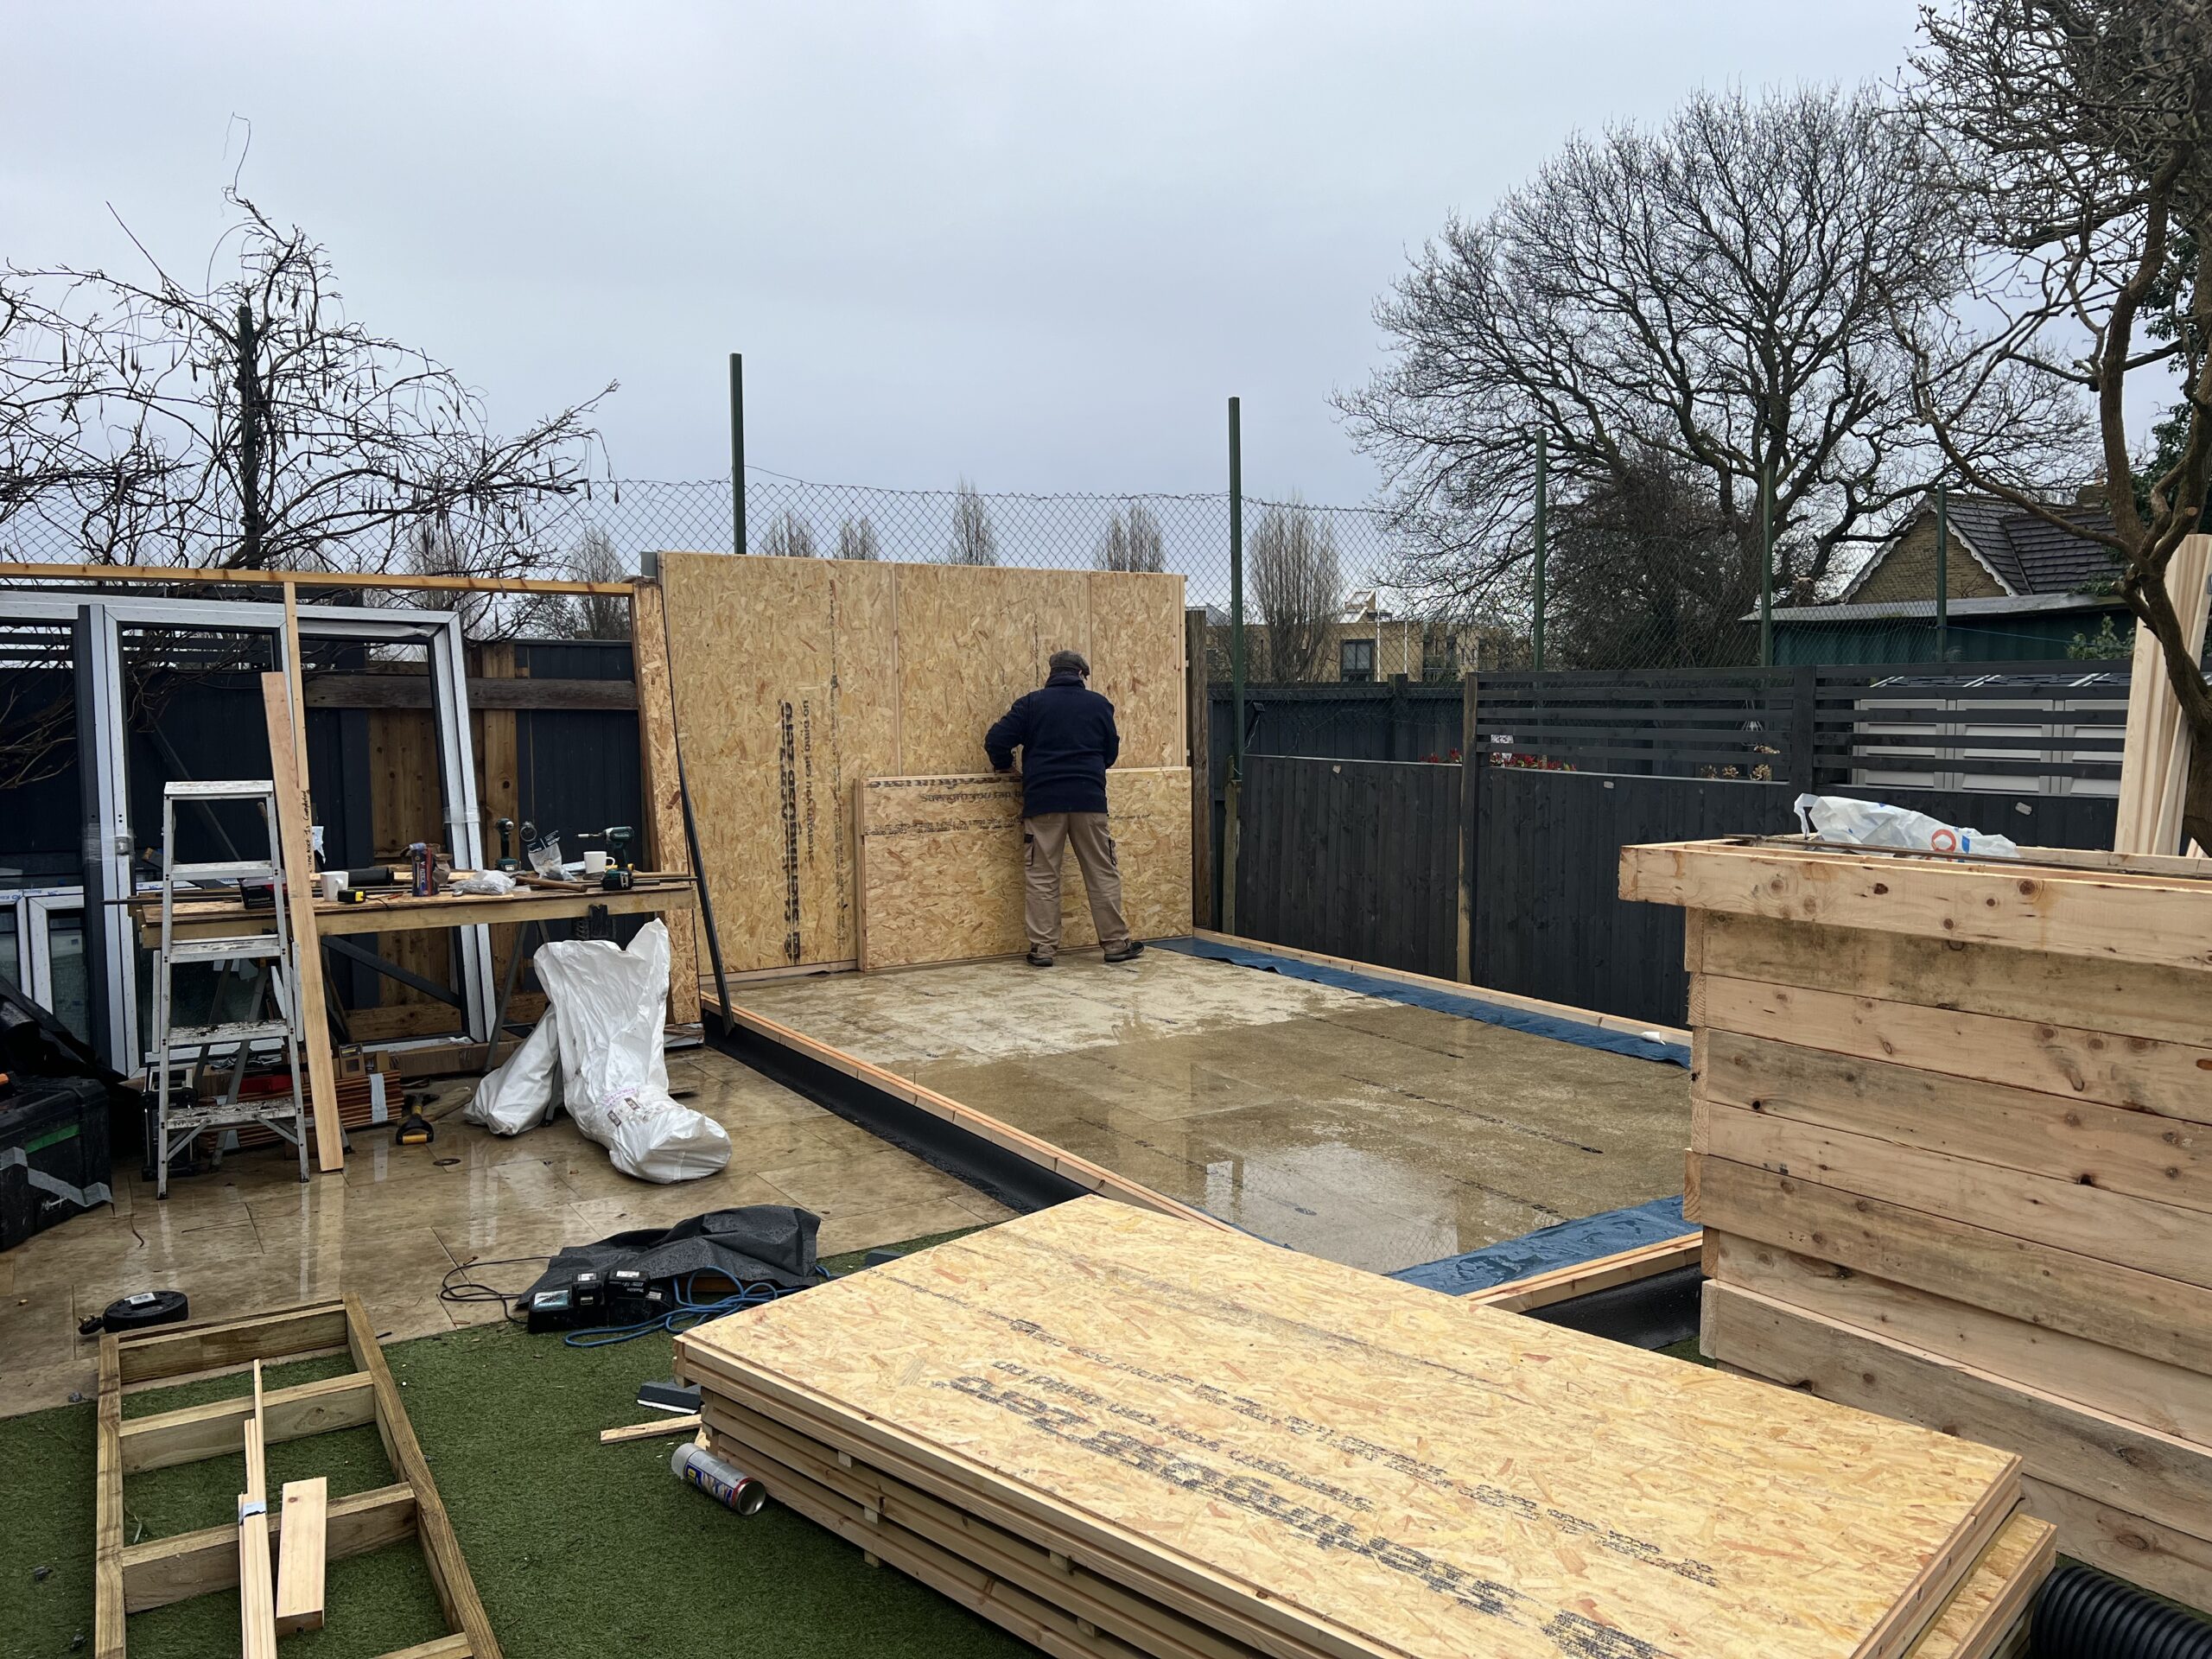
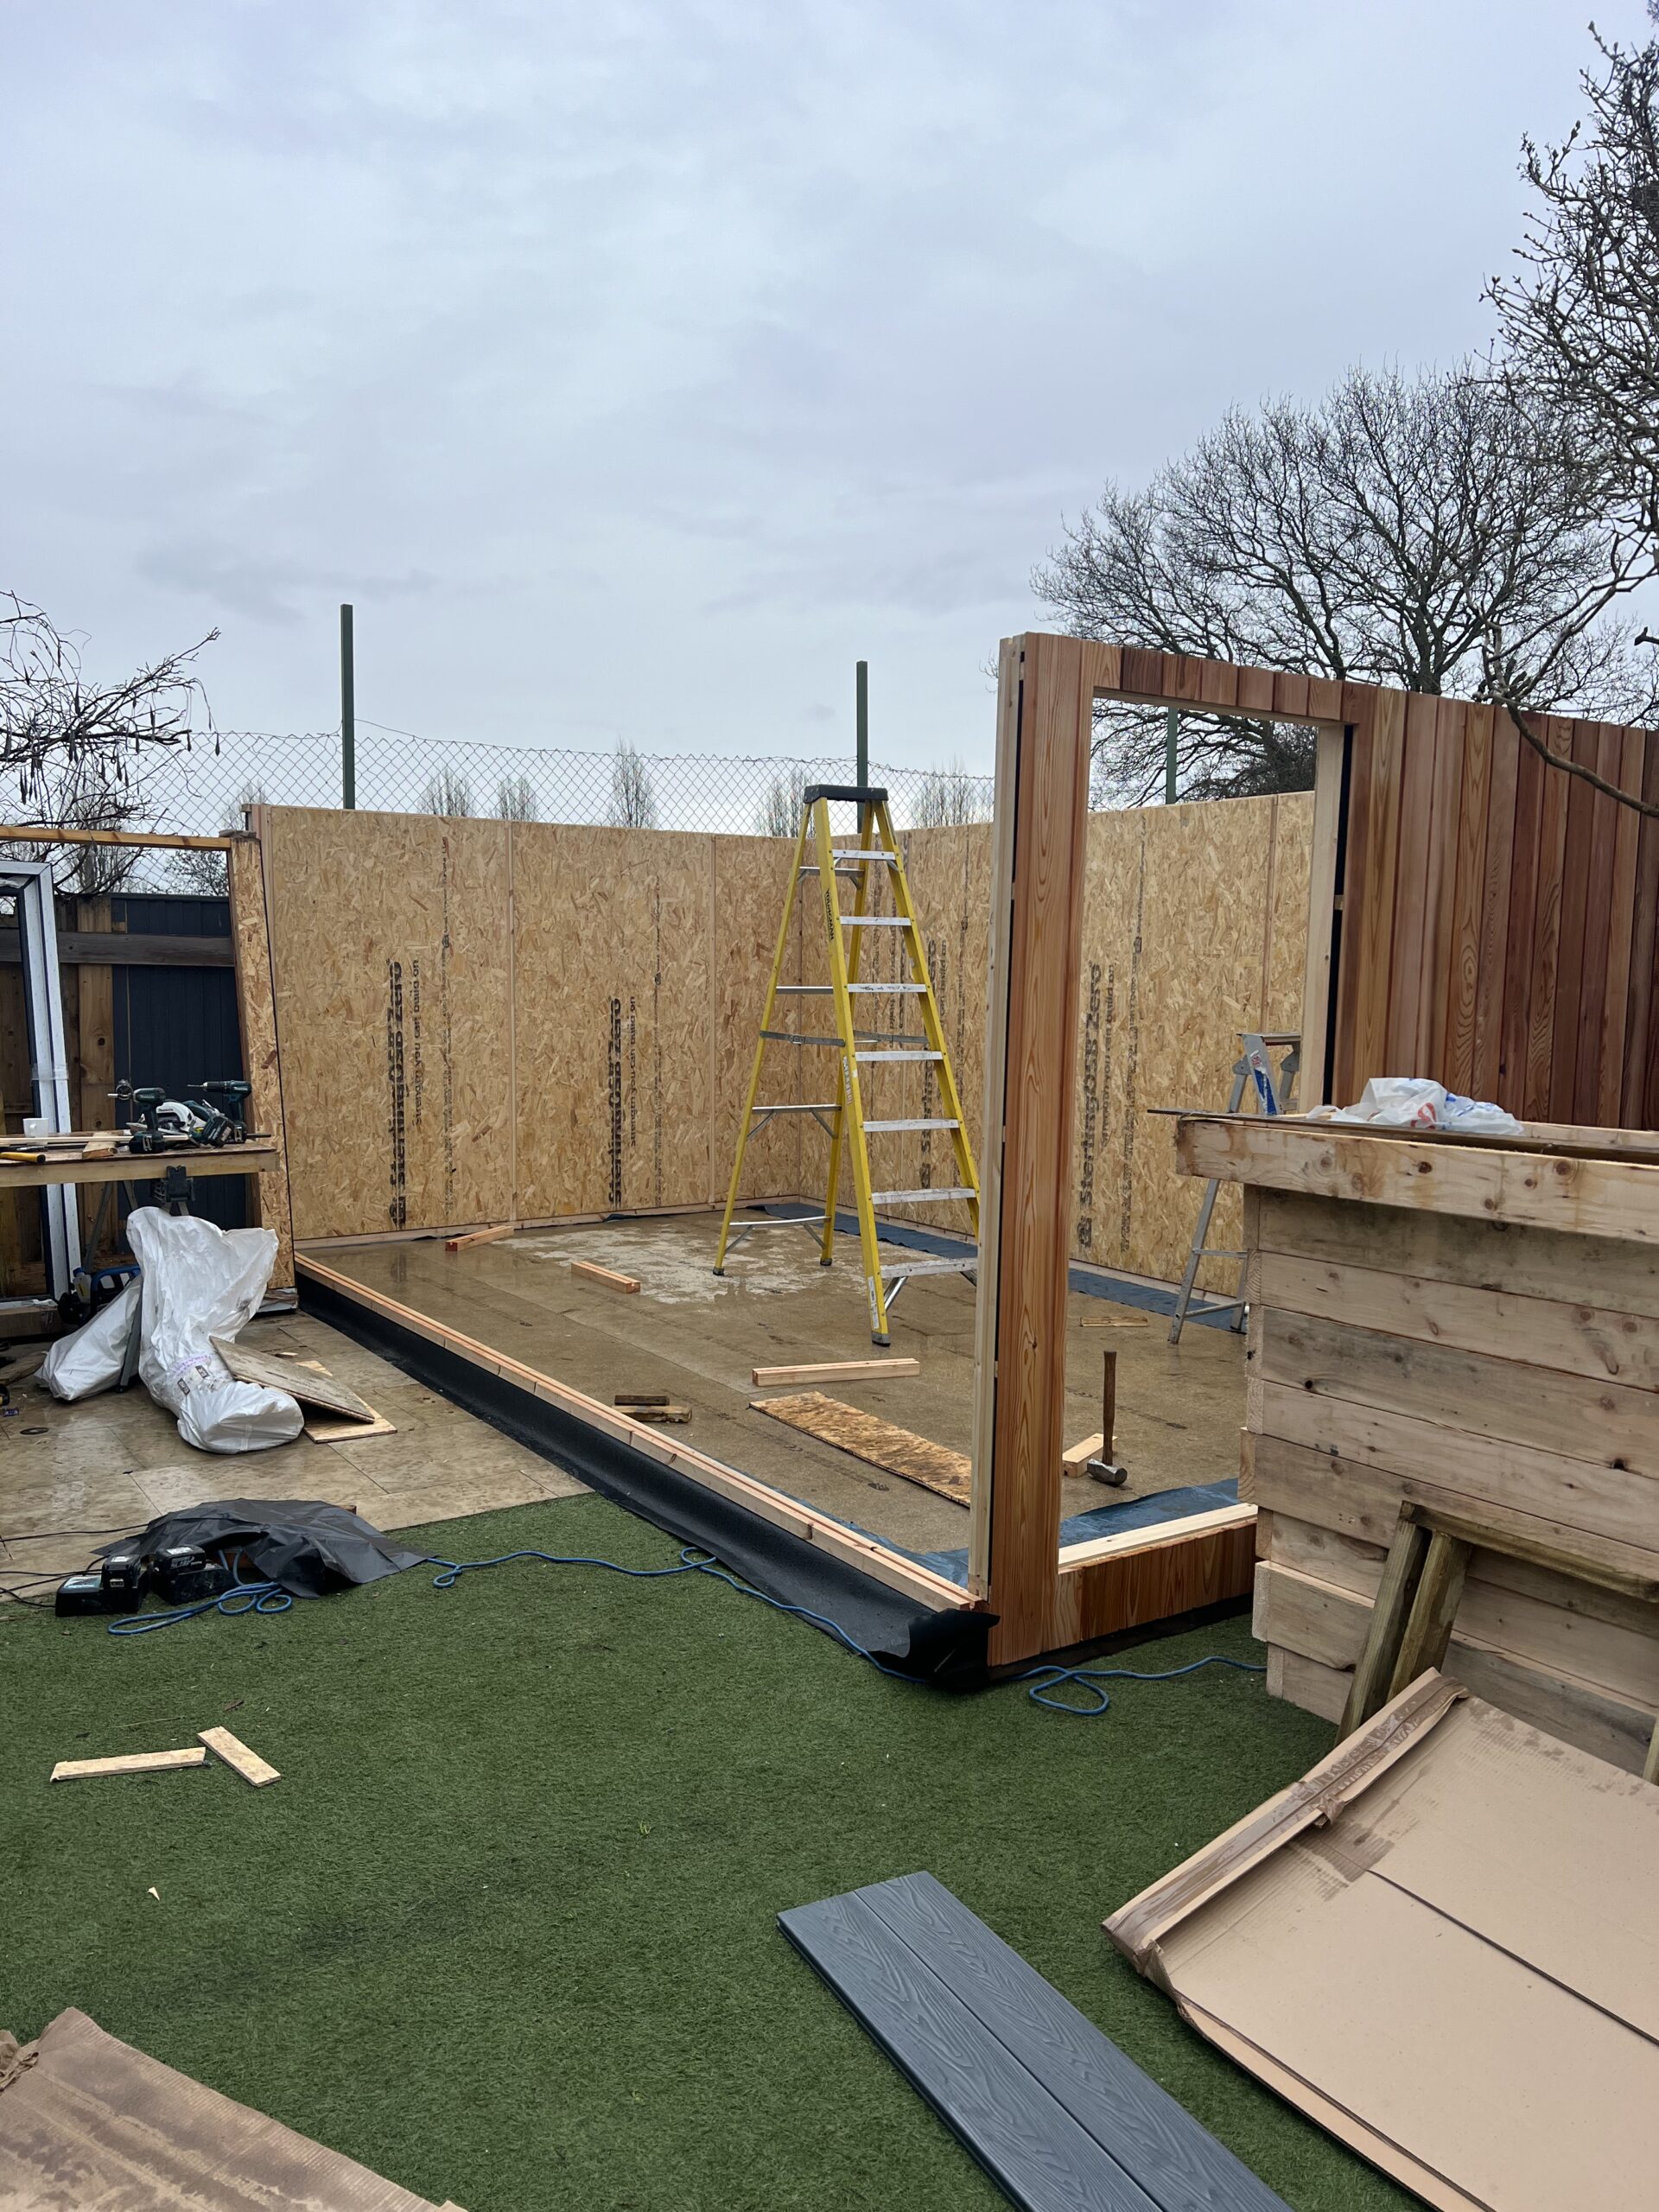
Walls and Roof
The pre-manufactured wall and roof sections are installed. The structure goes up quickly. By the end of day four, the room is typically fully formed and weather-tight, protecting it from the elements and allowing internal works to begin.
First Fix Electrics and Plasterboarding
Our electrician carries out the first fix wiring. The room is then plasterboarded and prepared for plastering, which takes place the following day. After plastering, the room is left to dry properly before external finishes begin. This typically marks the end of the first week.
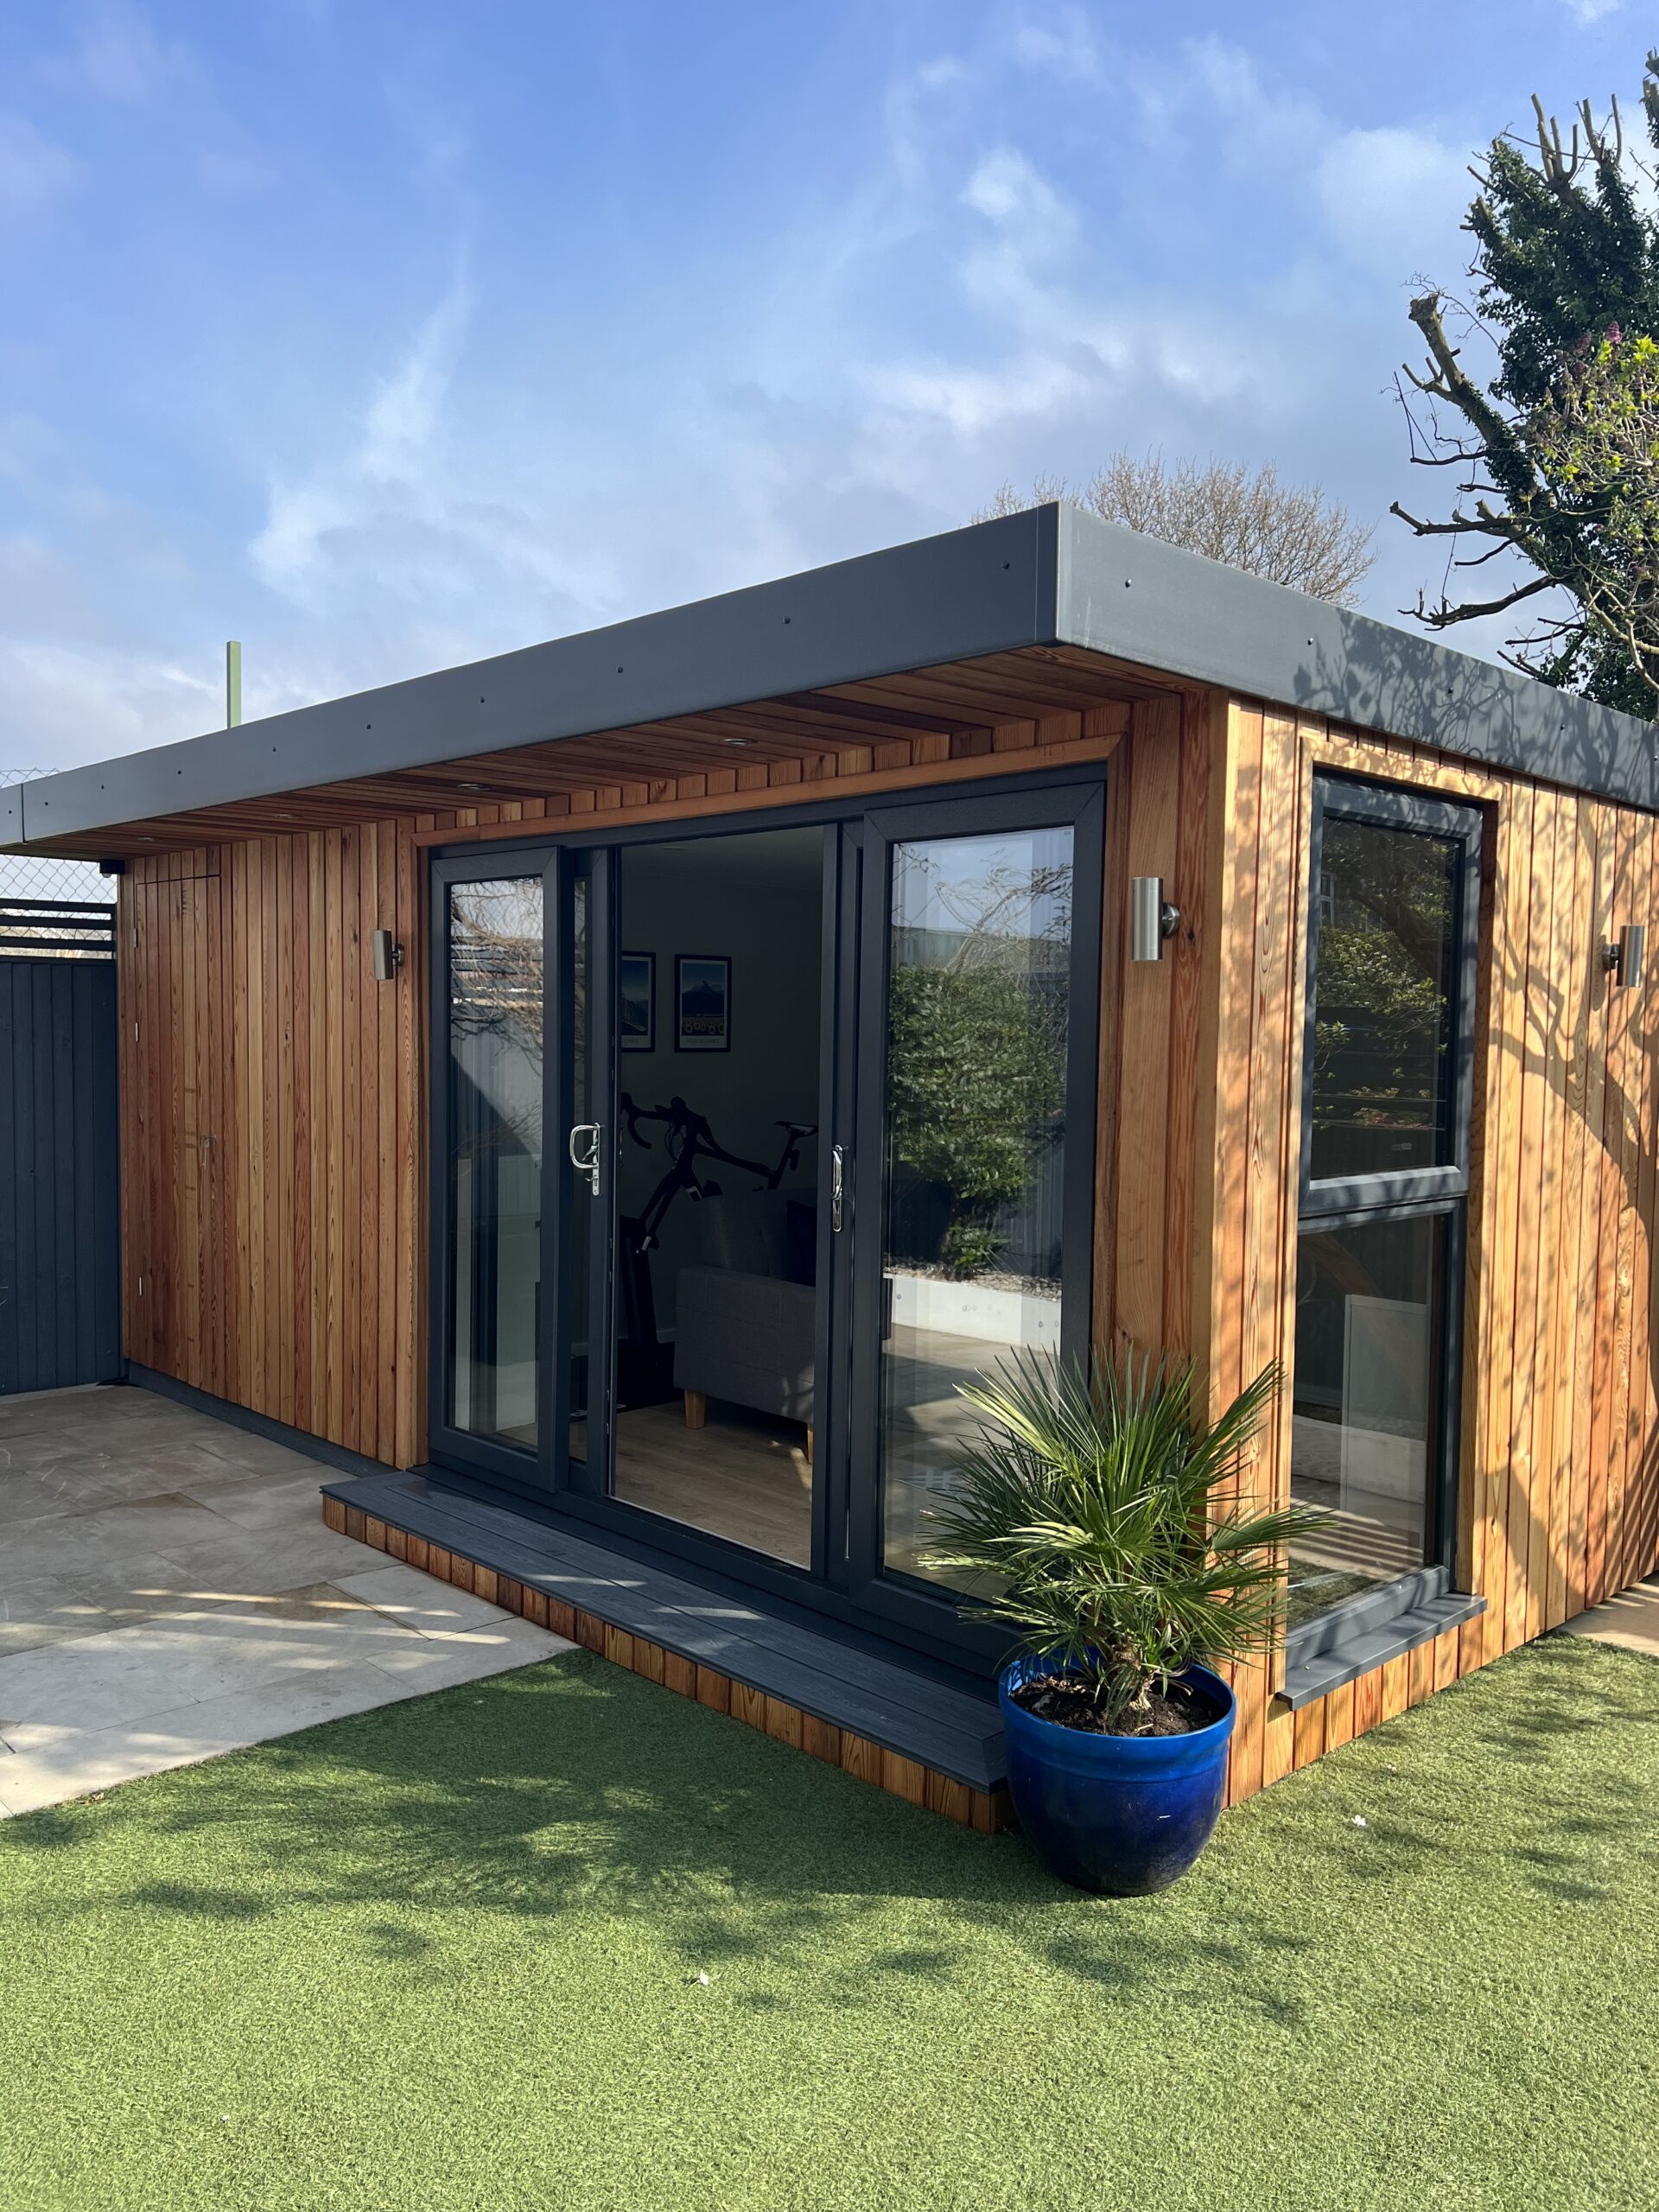
External Finishes
Once the plaster has dried, the team returns for external works. This includes roof completion, cladding, and any decking or entrance steps included in the build. Depending on materials, this typically takes a couple of days.
Internal Finishes and Second Fix
With the room fully dry, attention turns back inside. Finished flooring is laid, skirting boards are fitted, and the electrician returns for second fix. Once complete, the room receives a decorator's mist coat of paint, followed by a full clean and tidy.
Snagging and Handover
Throughout the build, Kieron visits the site every couple of days to check progress and keep you updated. Once installation is complete and you have had a weekend to live with the space, Kieron returns to walk around the room with you, address any snagging items and complete the formal handover.
Questions about the build process?
Kieron is happy to talk through any part of this in more detail before you commit to anything. Call or send a message and he will reply personally within 2 hours on weekdays.
★★★★★ Rated 5 stars on Google
Payment Terms
Three stages, no hidden extras
Payment is split into three clear stages. The quote you receive before ordering is fully itemised so you know exactly what every pound covers.
50% Deposit
Due when you confirm your order by accepting the quote.
- Detailed CAD drawings produced and sent to you for approval
- Doors and windows ordered once drawings are confirmed
- Bespoke steel floor frame, wall panels and roof sections enter manufacture
- Your installation date is confirmed and booked
40% Payment
Due 14 days before your installation date. By this point your room is approximately 50% complete in the factory.
- Shorter lead-time materials are ordered
- Installation teams are confirmed and scheduled
- Final logistics are confirmed for a smooth install
10% Final Payment
Due after the walkround and snagging visit, once you are satisfied everything is finished correctly.
- Keys to your new garden room
- Electrical installation certificate
- Aftercare and warranty information
- QR code for setting up the Tuya app for your Wi-Fi panel heater
Helpful Pages
- Design your own garden room and get an instant price
- Full specifications for My Retreat garden rooms
- How much does a garden room cost? Our 2026 price guide
- Do garden rooms need planning permission? Surrey guide
- The Clifton garden room
- The Ashton garden room
- The Westbury garden room
- Frequently asked questions
Ready to Get Started?
Use the 3D design tool to see what your room could look like and get an instant guide price, or call Kieron for a conversation about your garden and your brief.